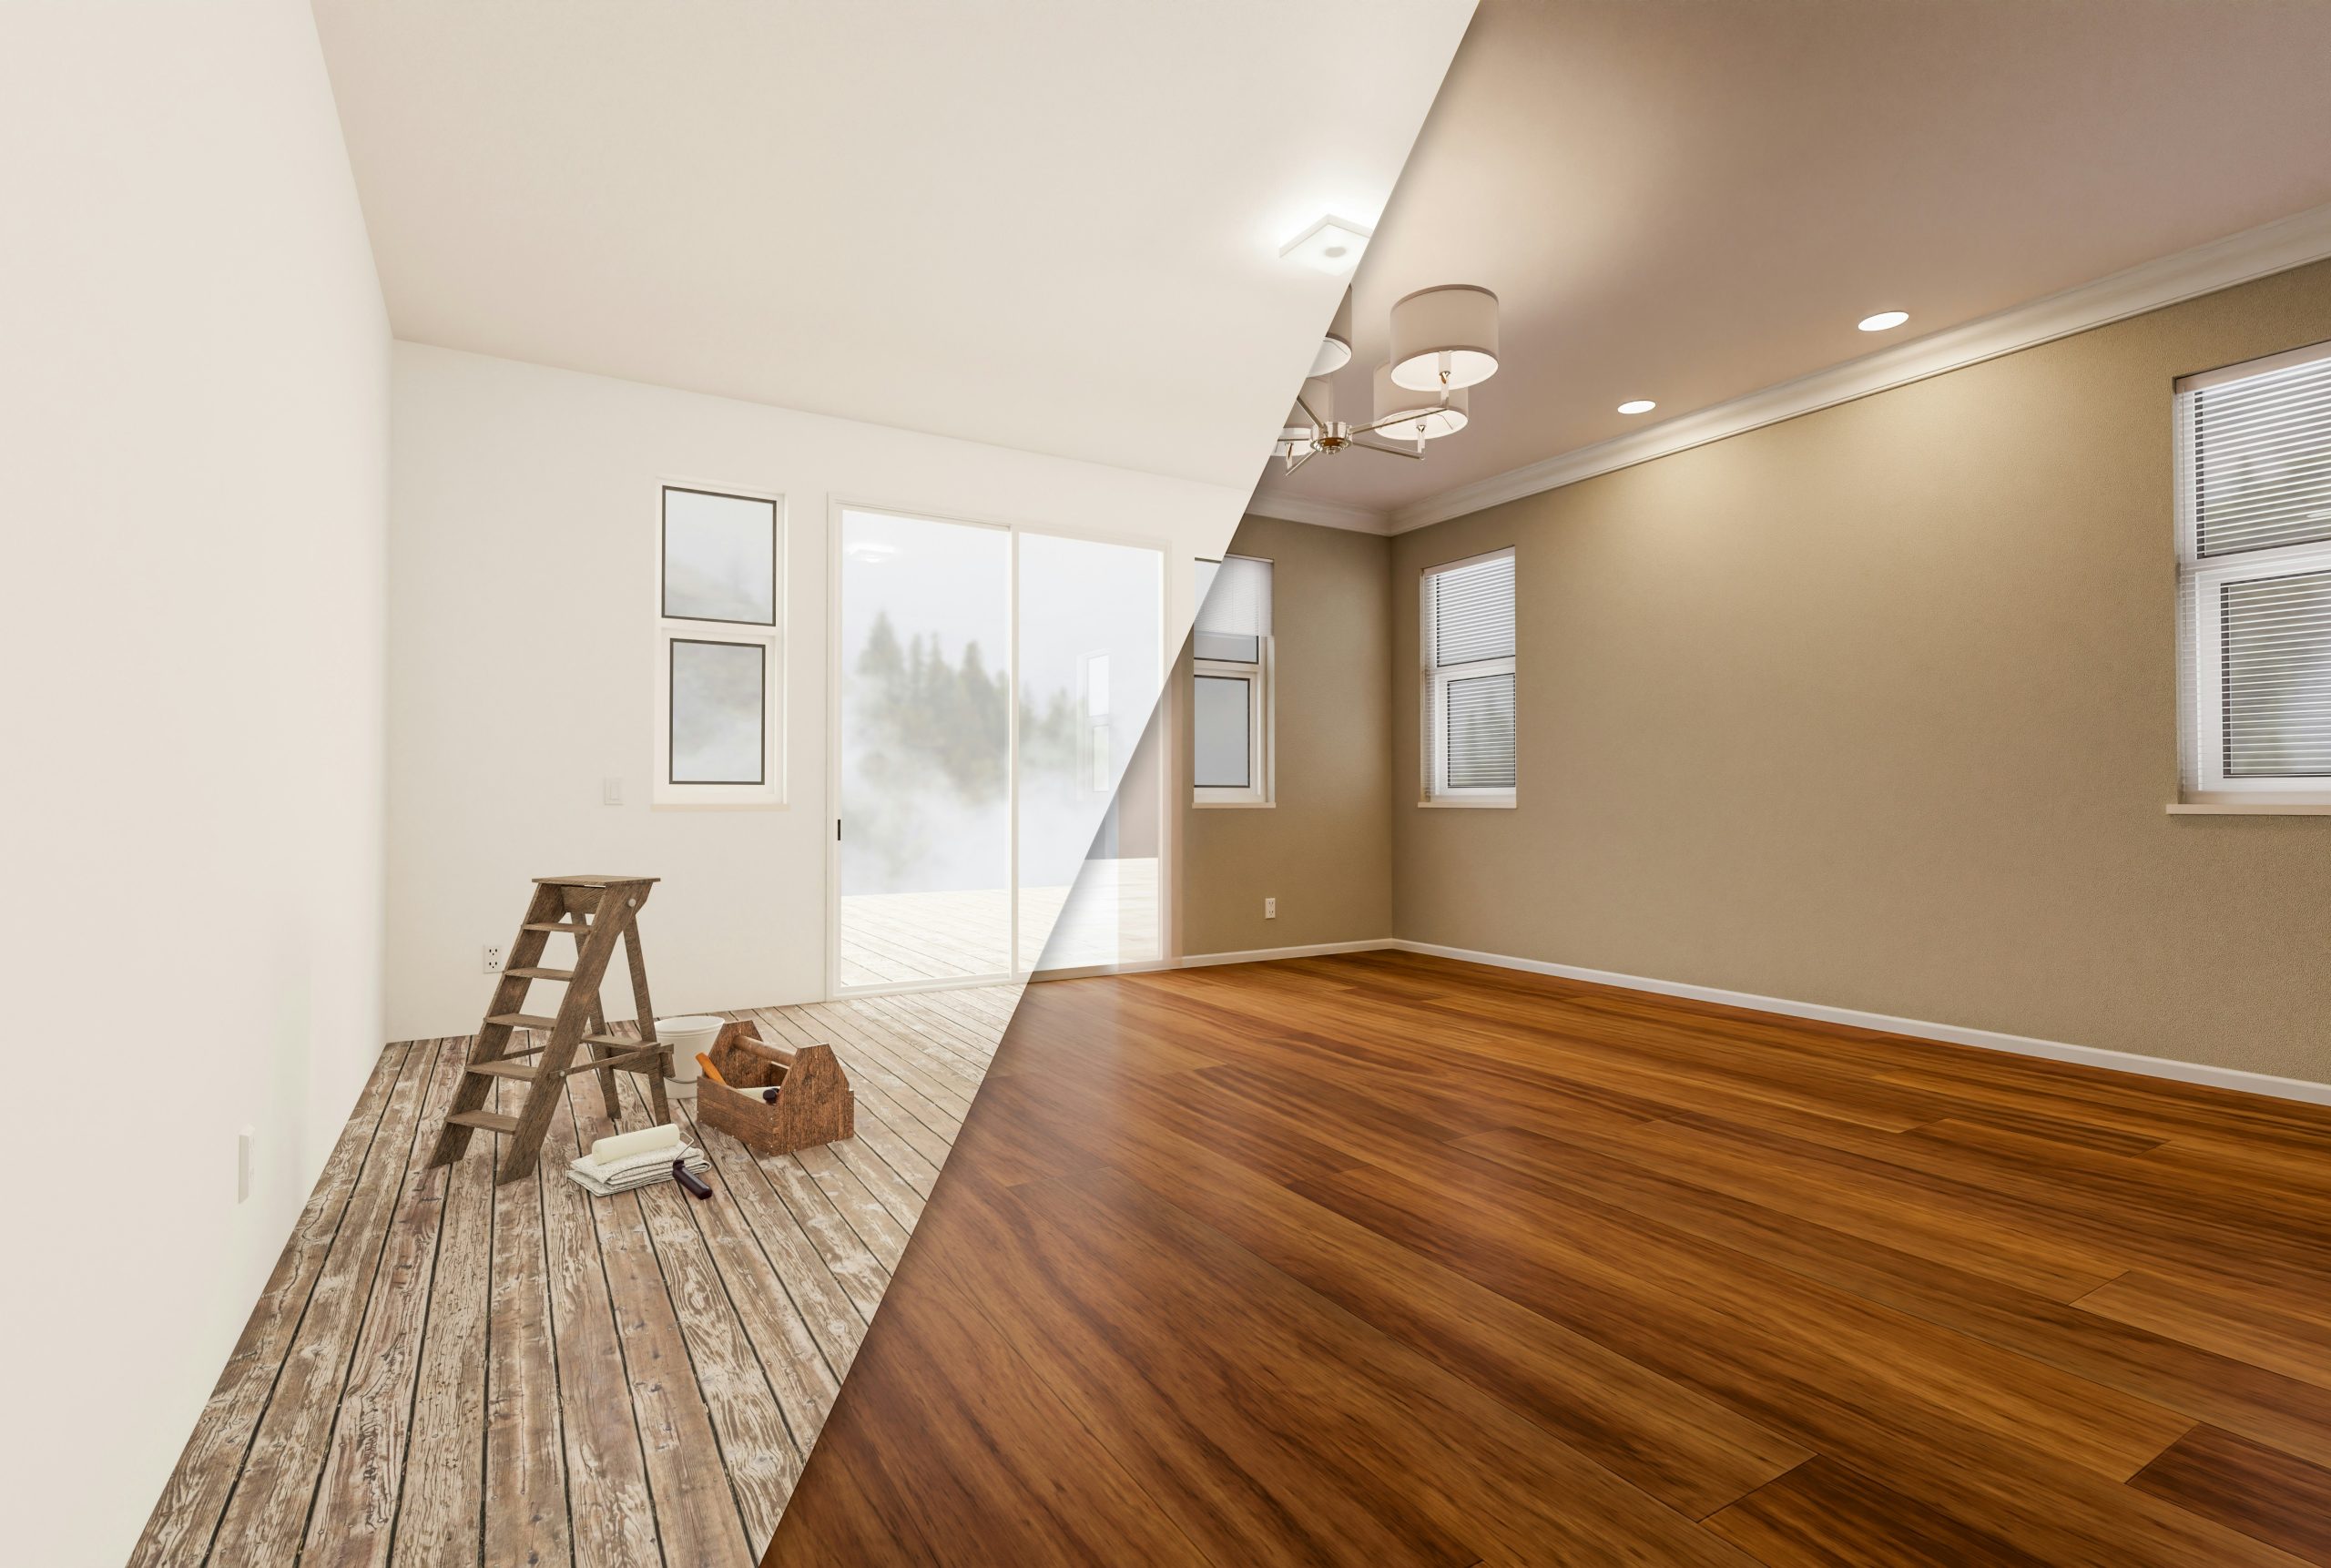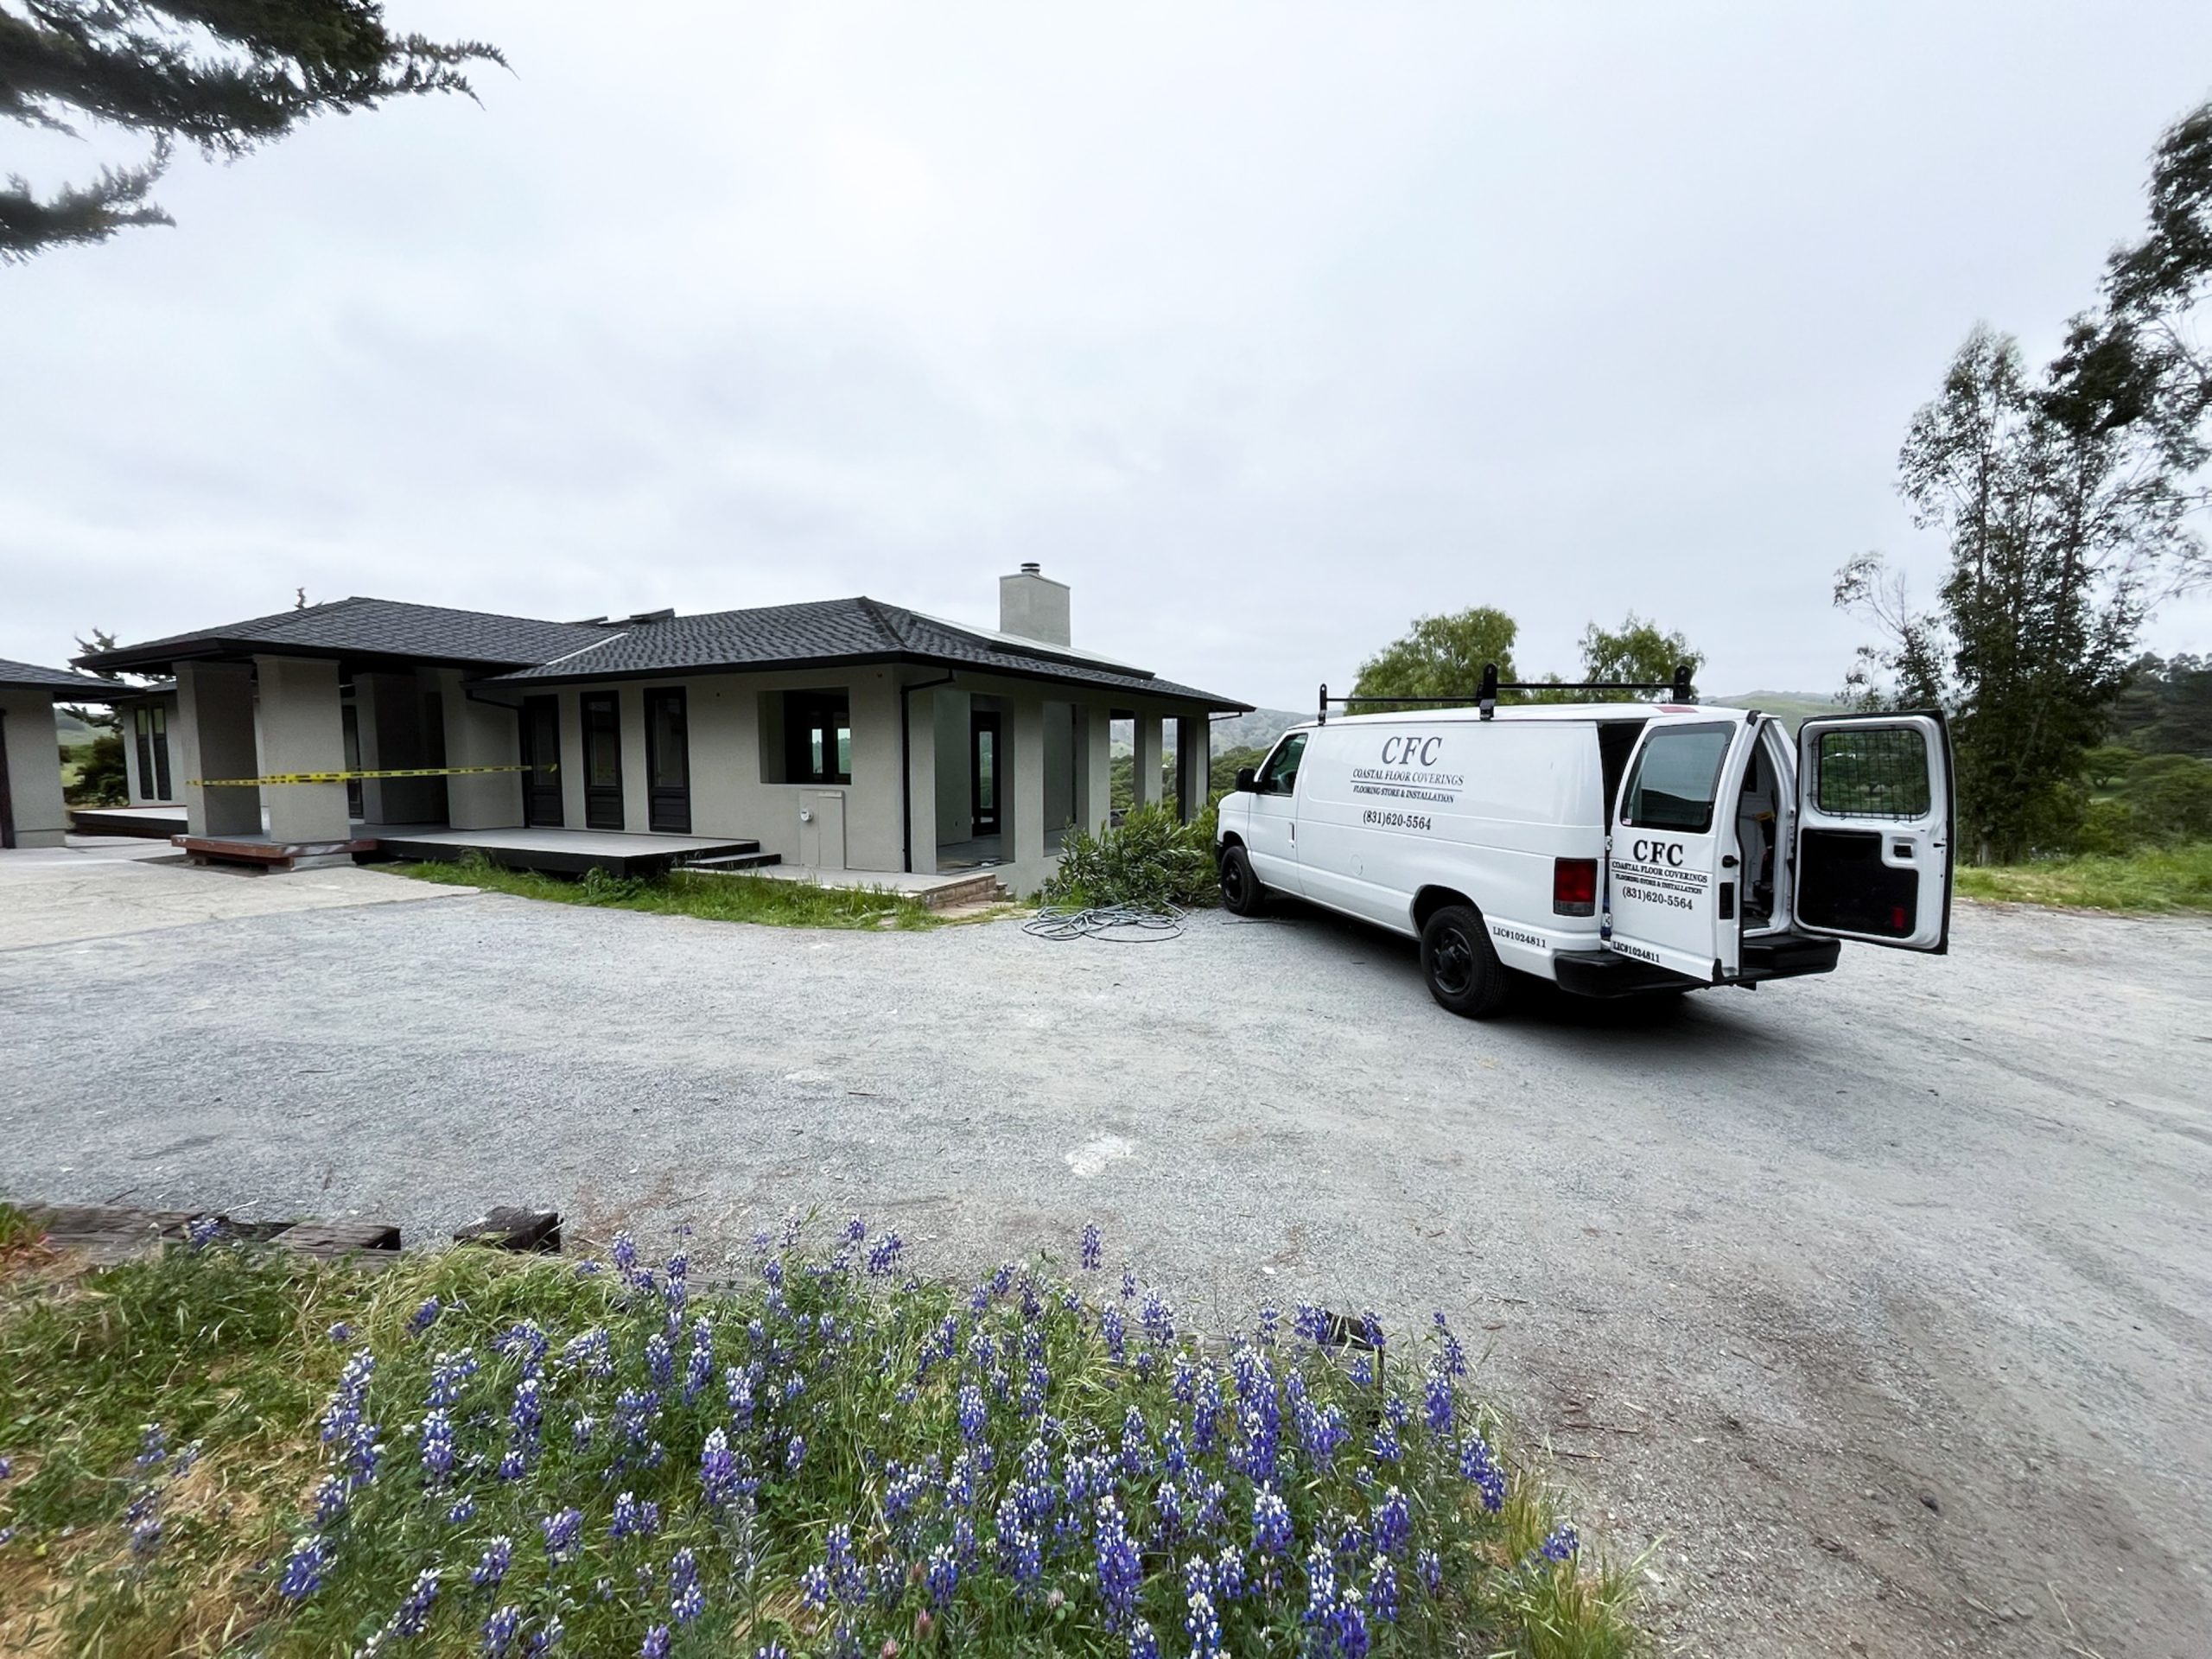
A Lot Happens Before the First Plank Is Laid
At Coastal Floor Coverings, most of the work that makes a floor last 20+ years happens before the first board or tile ever touches the ground.
Behind every clean finish is hours of demo, leveling, prep, and problem-solving—the kind of work you rarely see but always feel in the results. This post takes you behind the scenes of our install process: from tear-out to texture, from underlayment to the final walkthrough.
Step 1: Demo Done Right
Demo isn’t just about ripping up the old floor—it’s about doing it cleanly, safely, and efficiently. Here’s how we approach it:
-
Remove old carpet, padding, vinyl, or hardwood without damaging the surrounding structure
-
Identify and safely handle mold, moisture damage, or hazardous adhesives
-
Move or protect furniture and appliances as needed
-
Dispose of old materials responsibly
We also plan demo around your life—working one room at a time, accommodating pets and daily routines, and keeping the site as dust-free and navigable as possible.
Fun Fact: We often perform demo and install in stages so you can keep living in your space throughout the project.
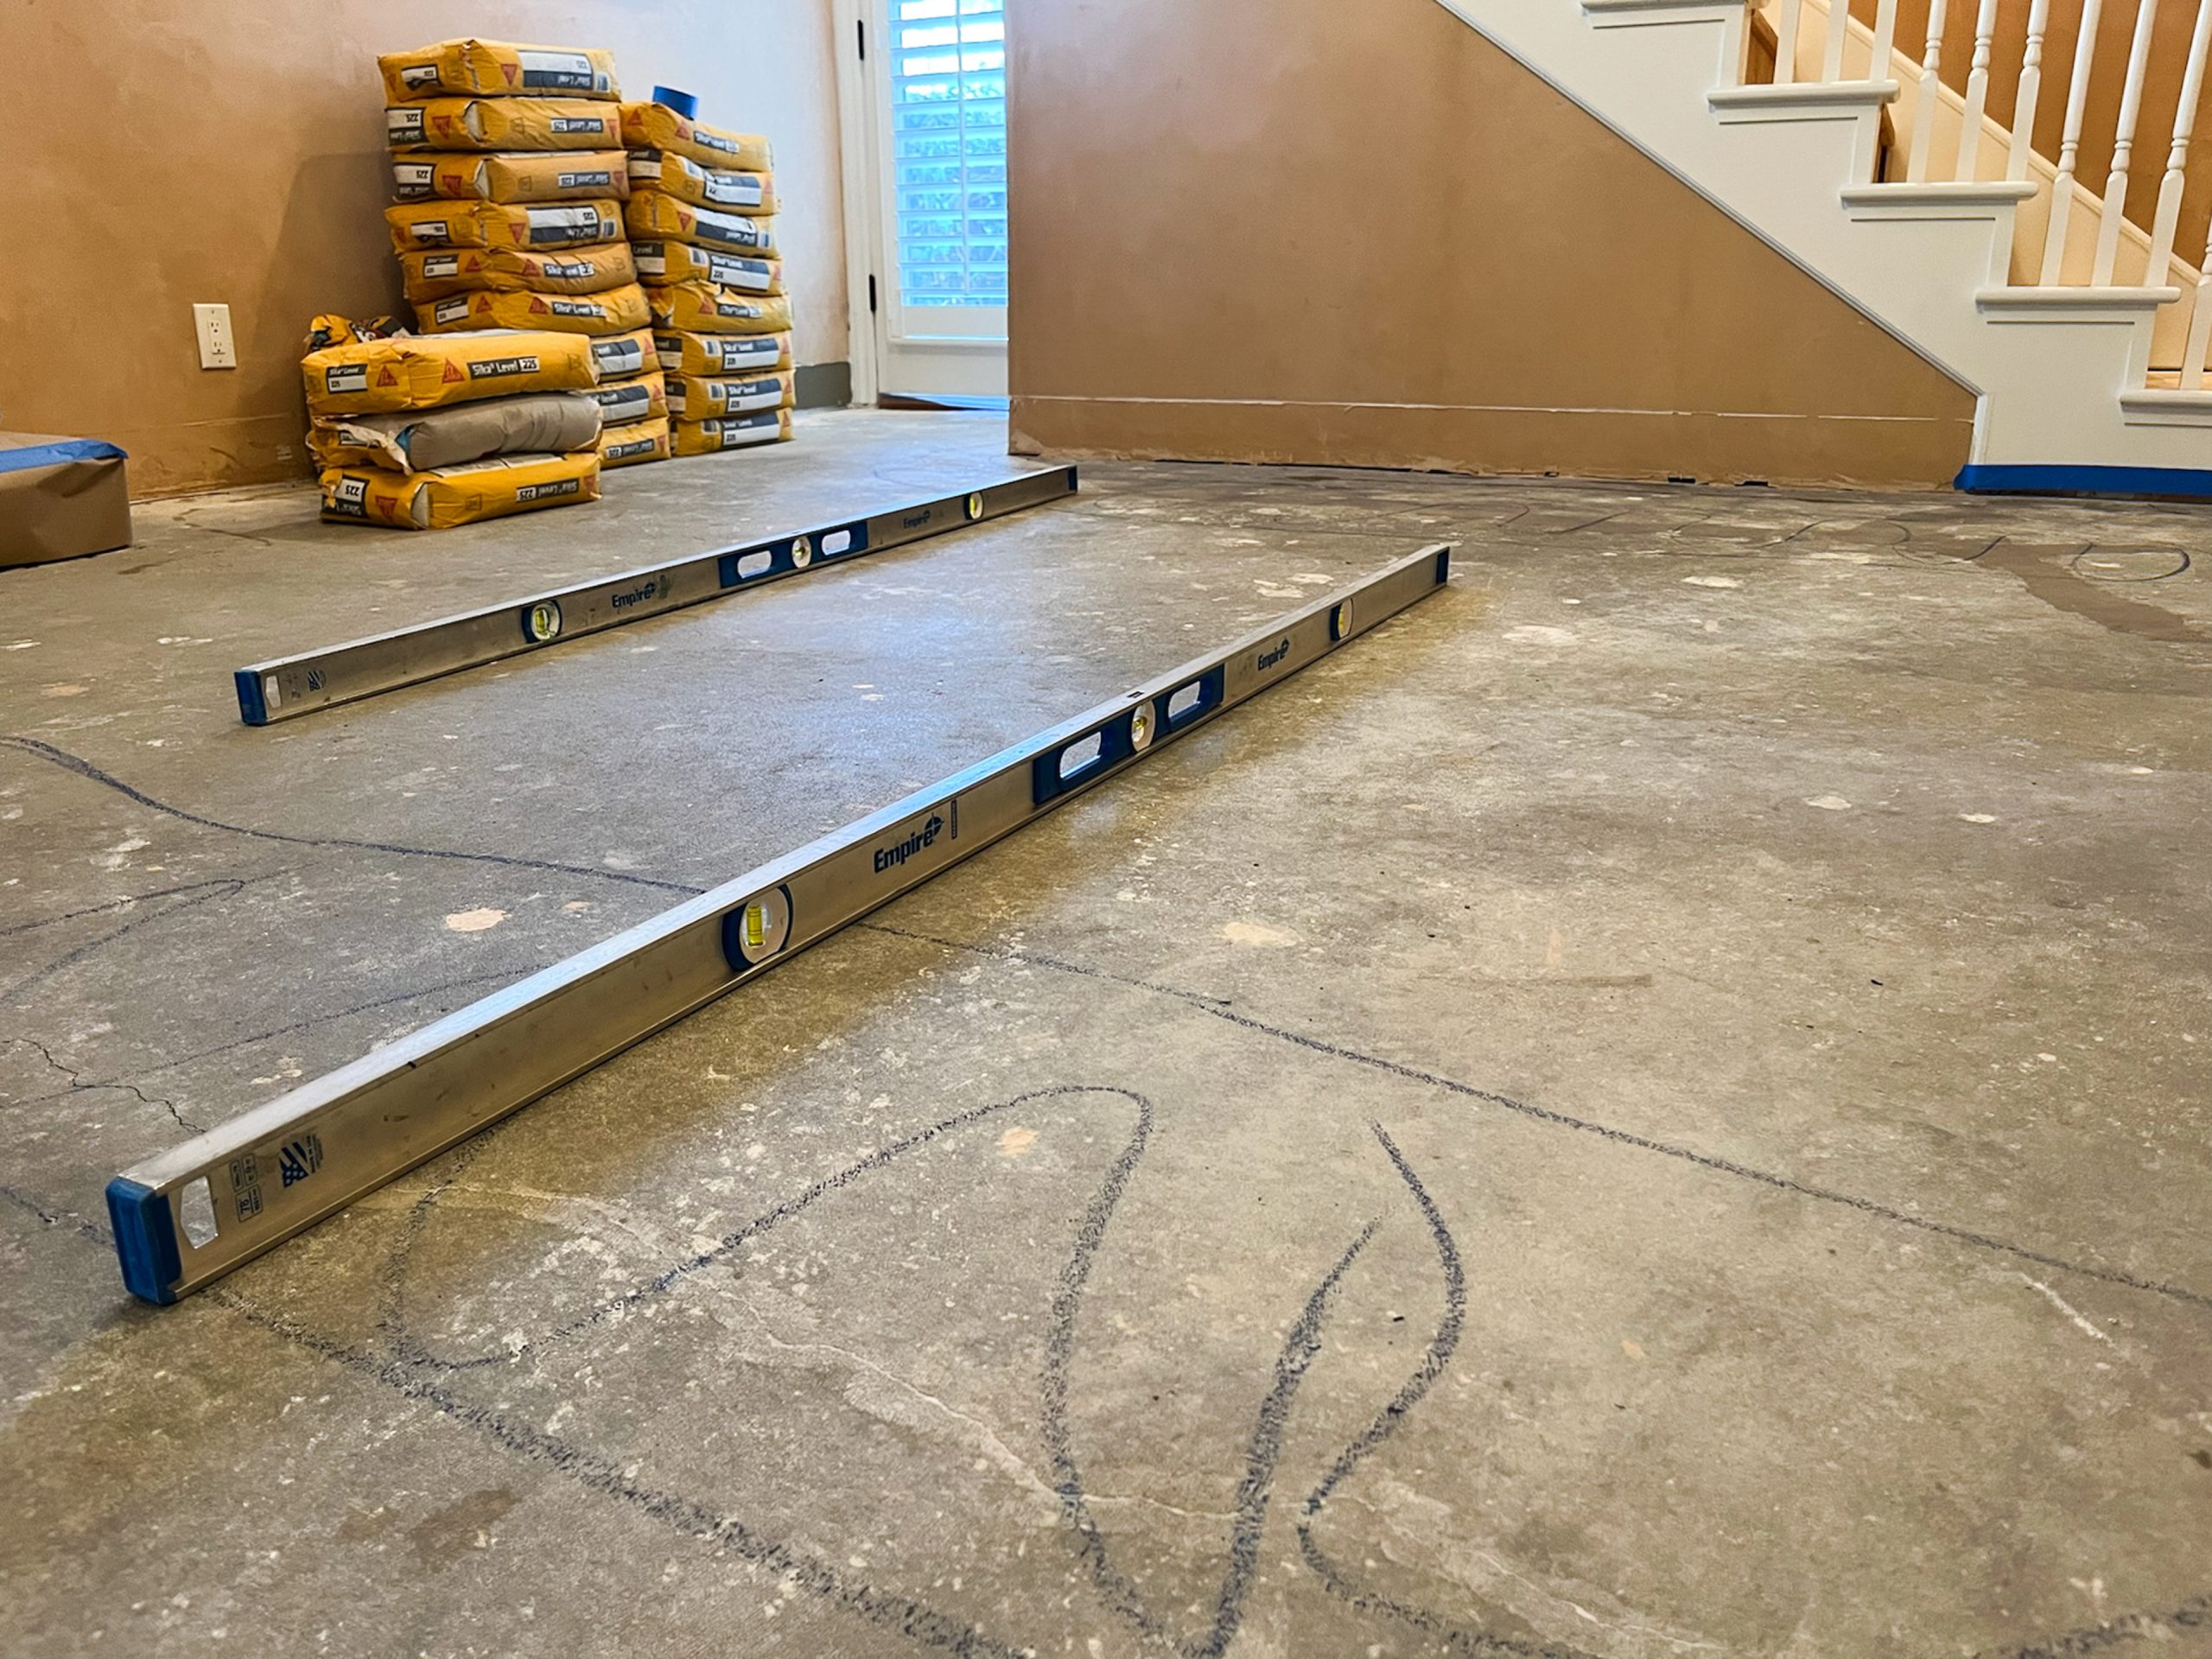
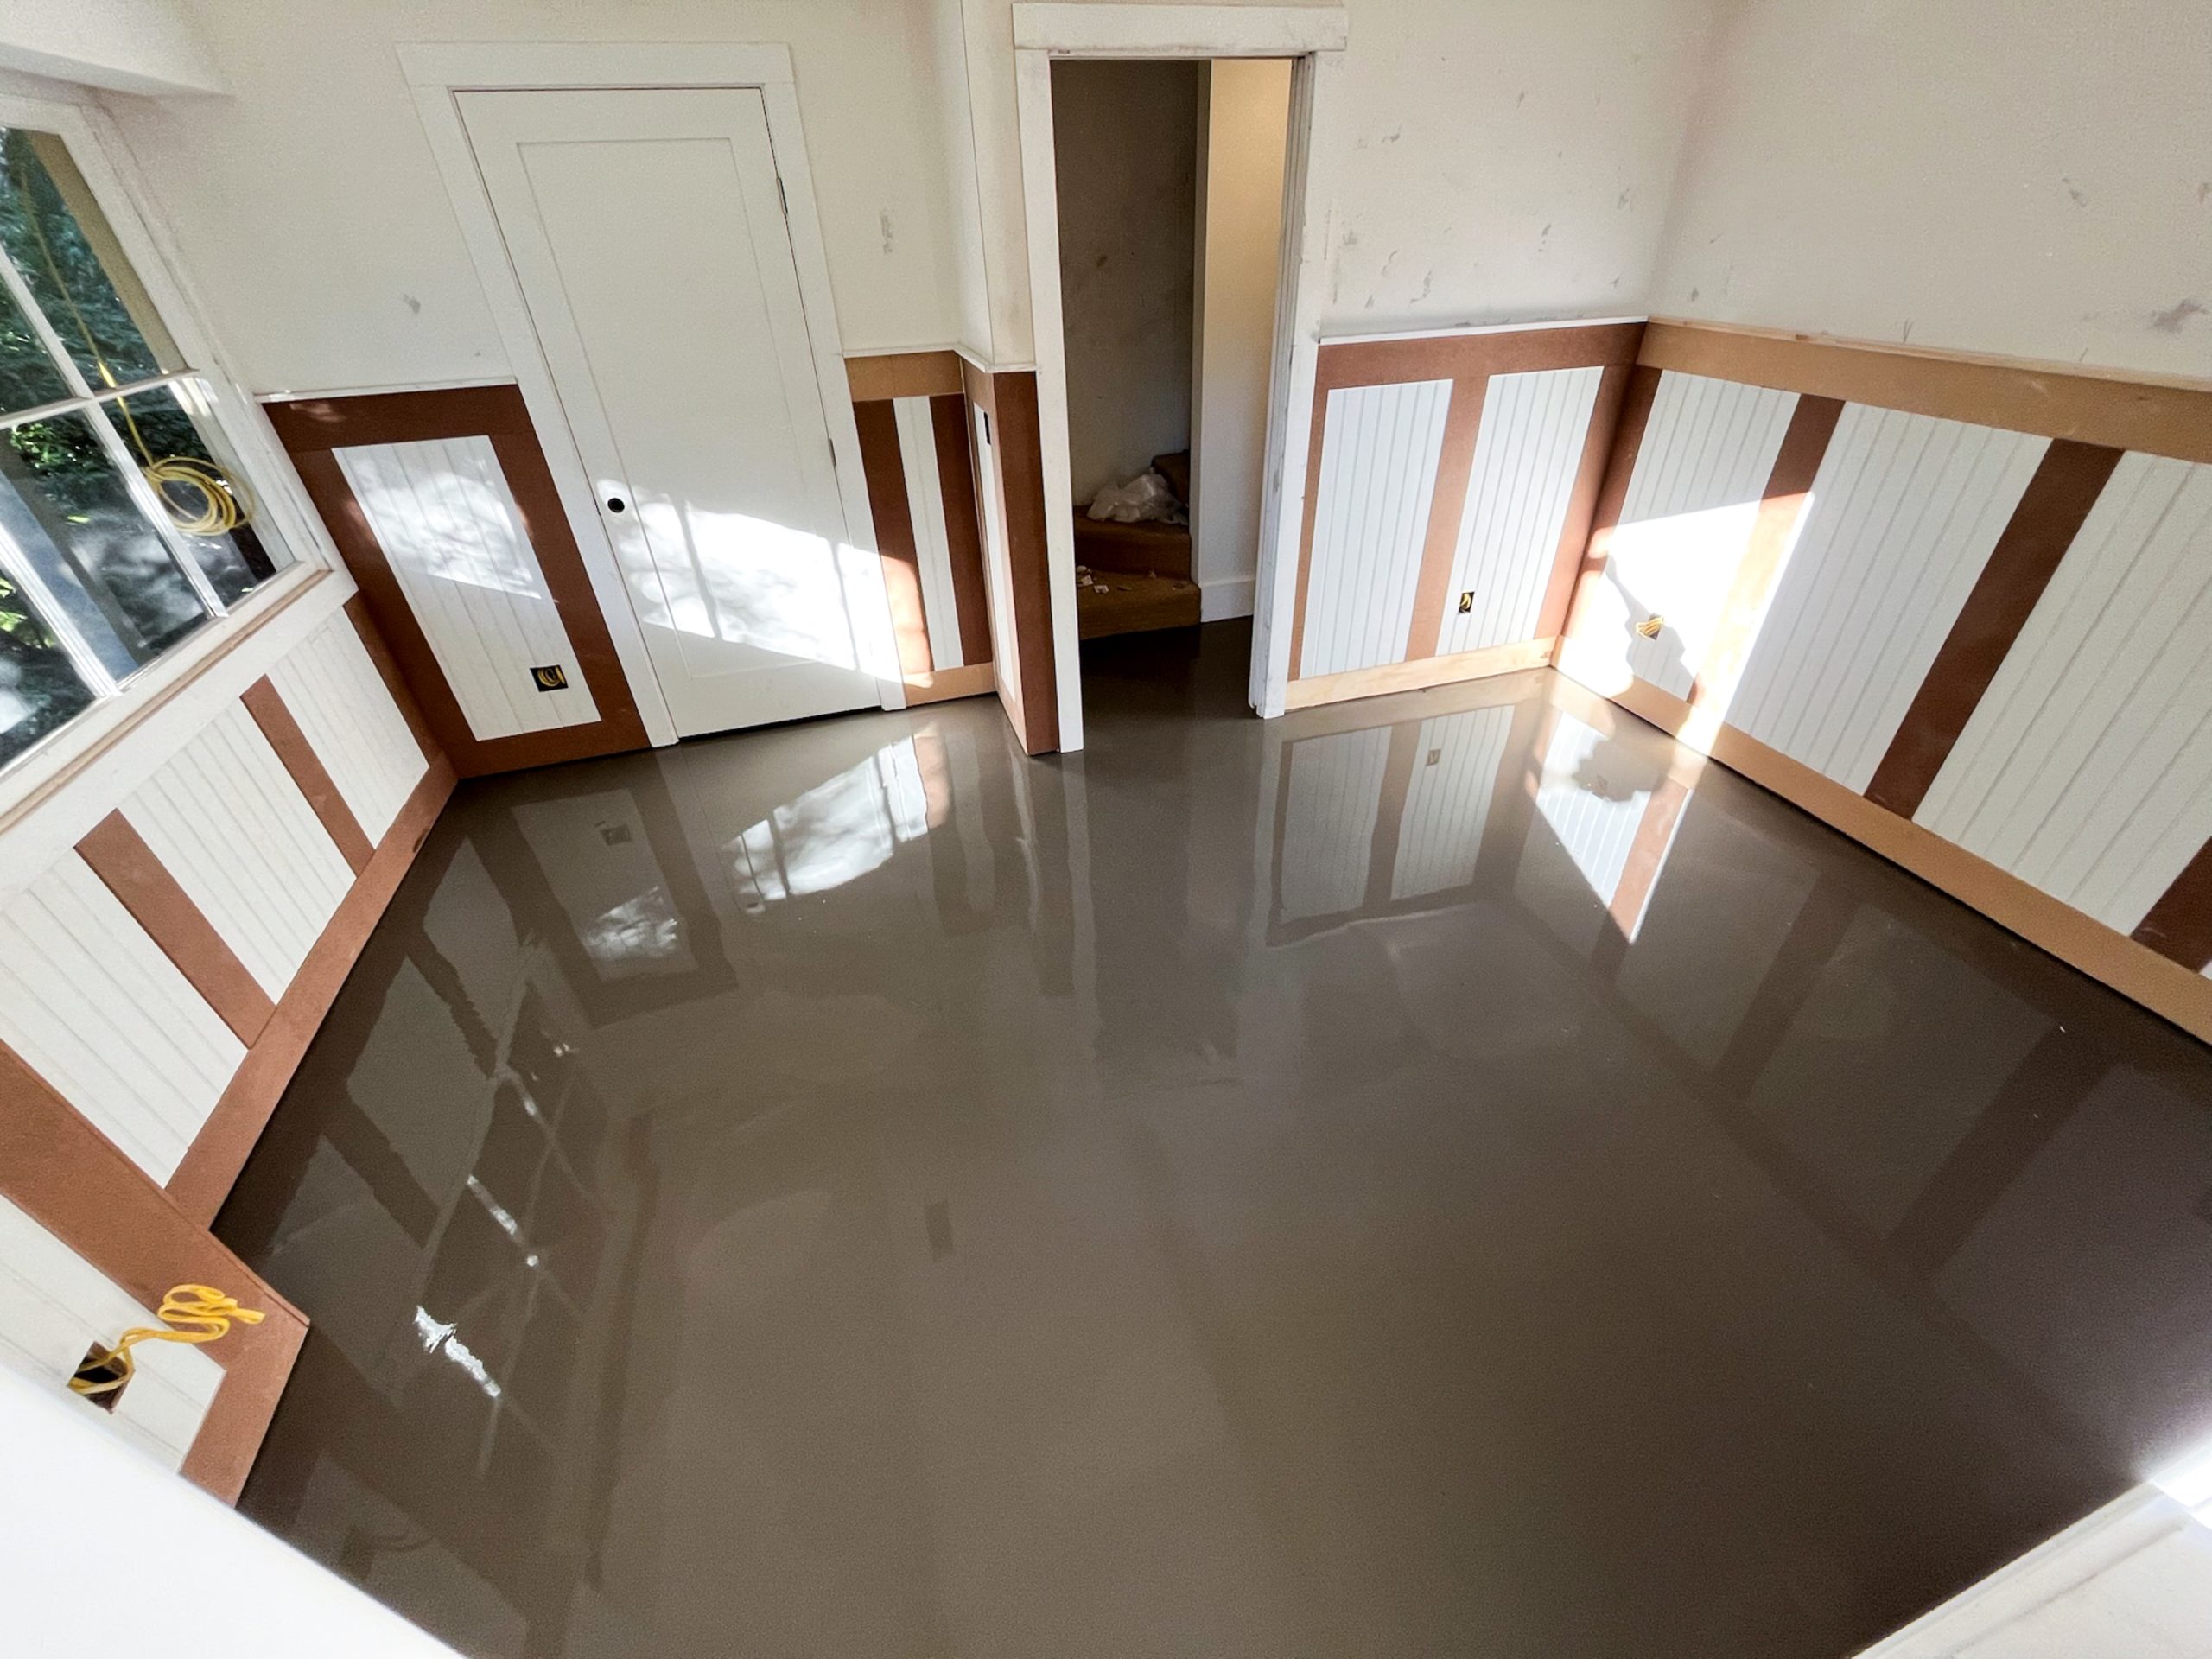
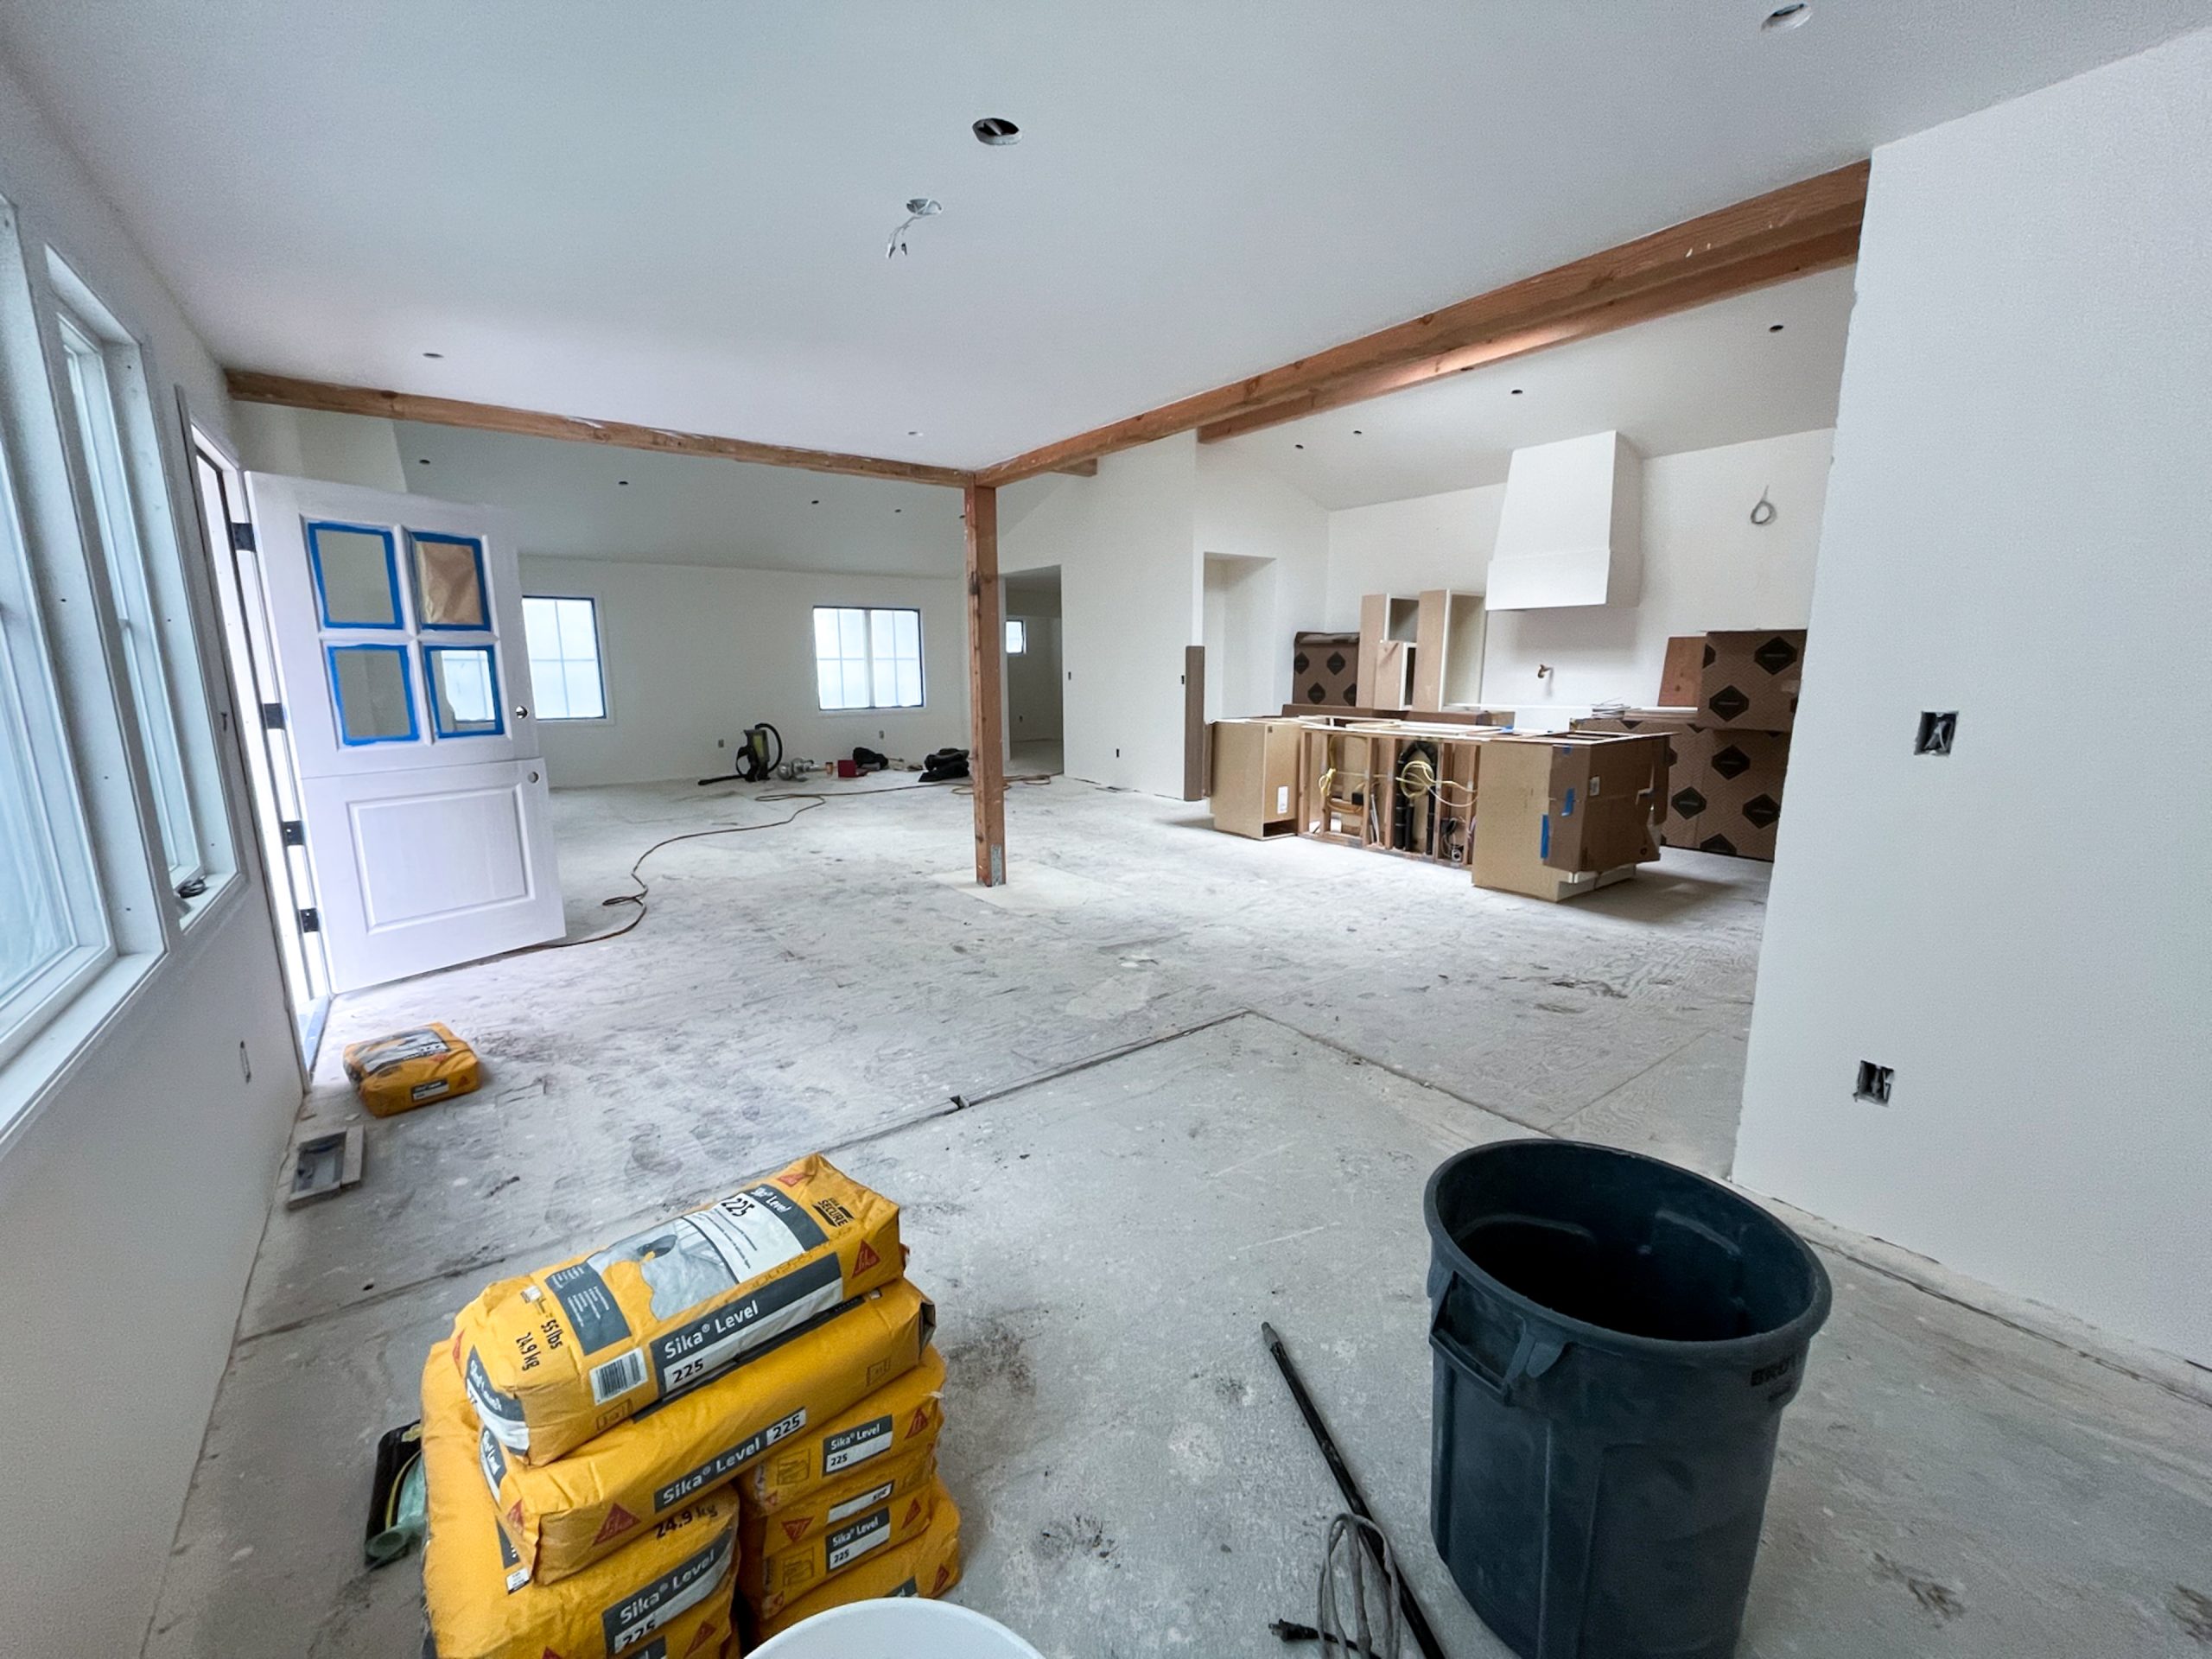
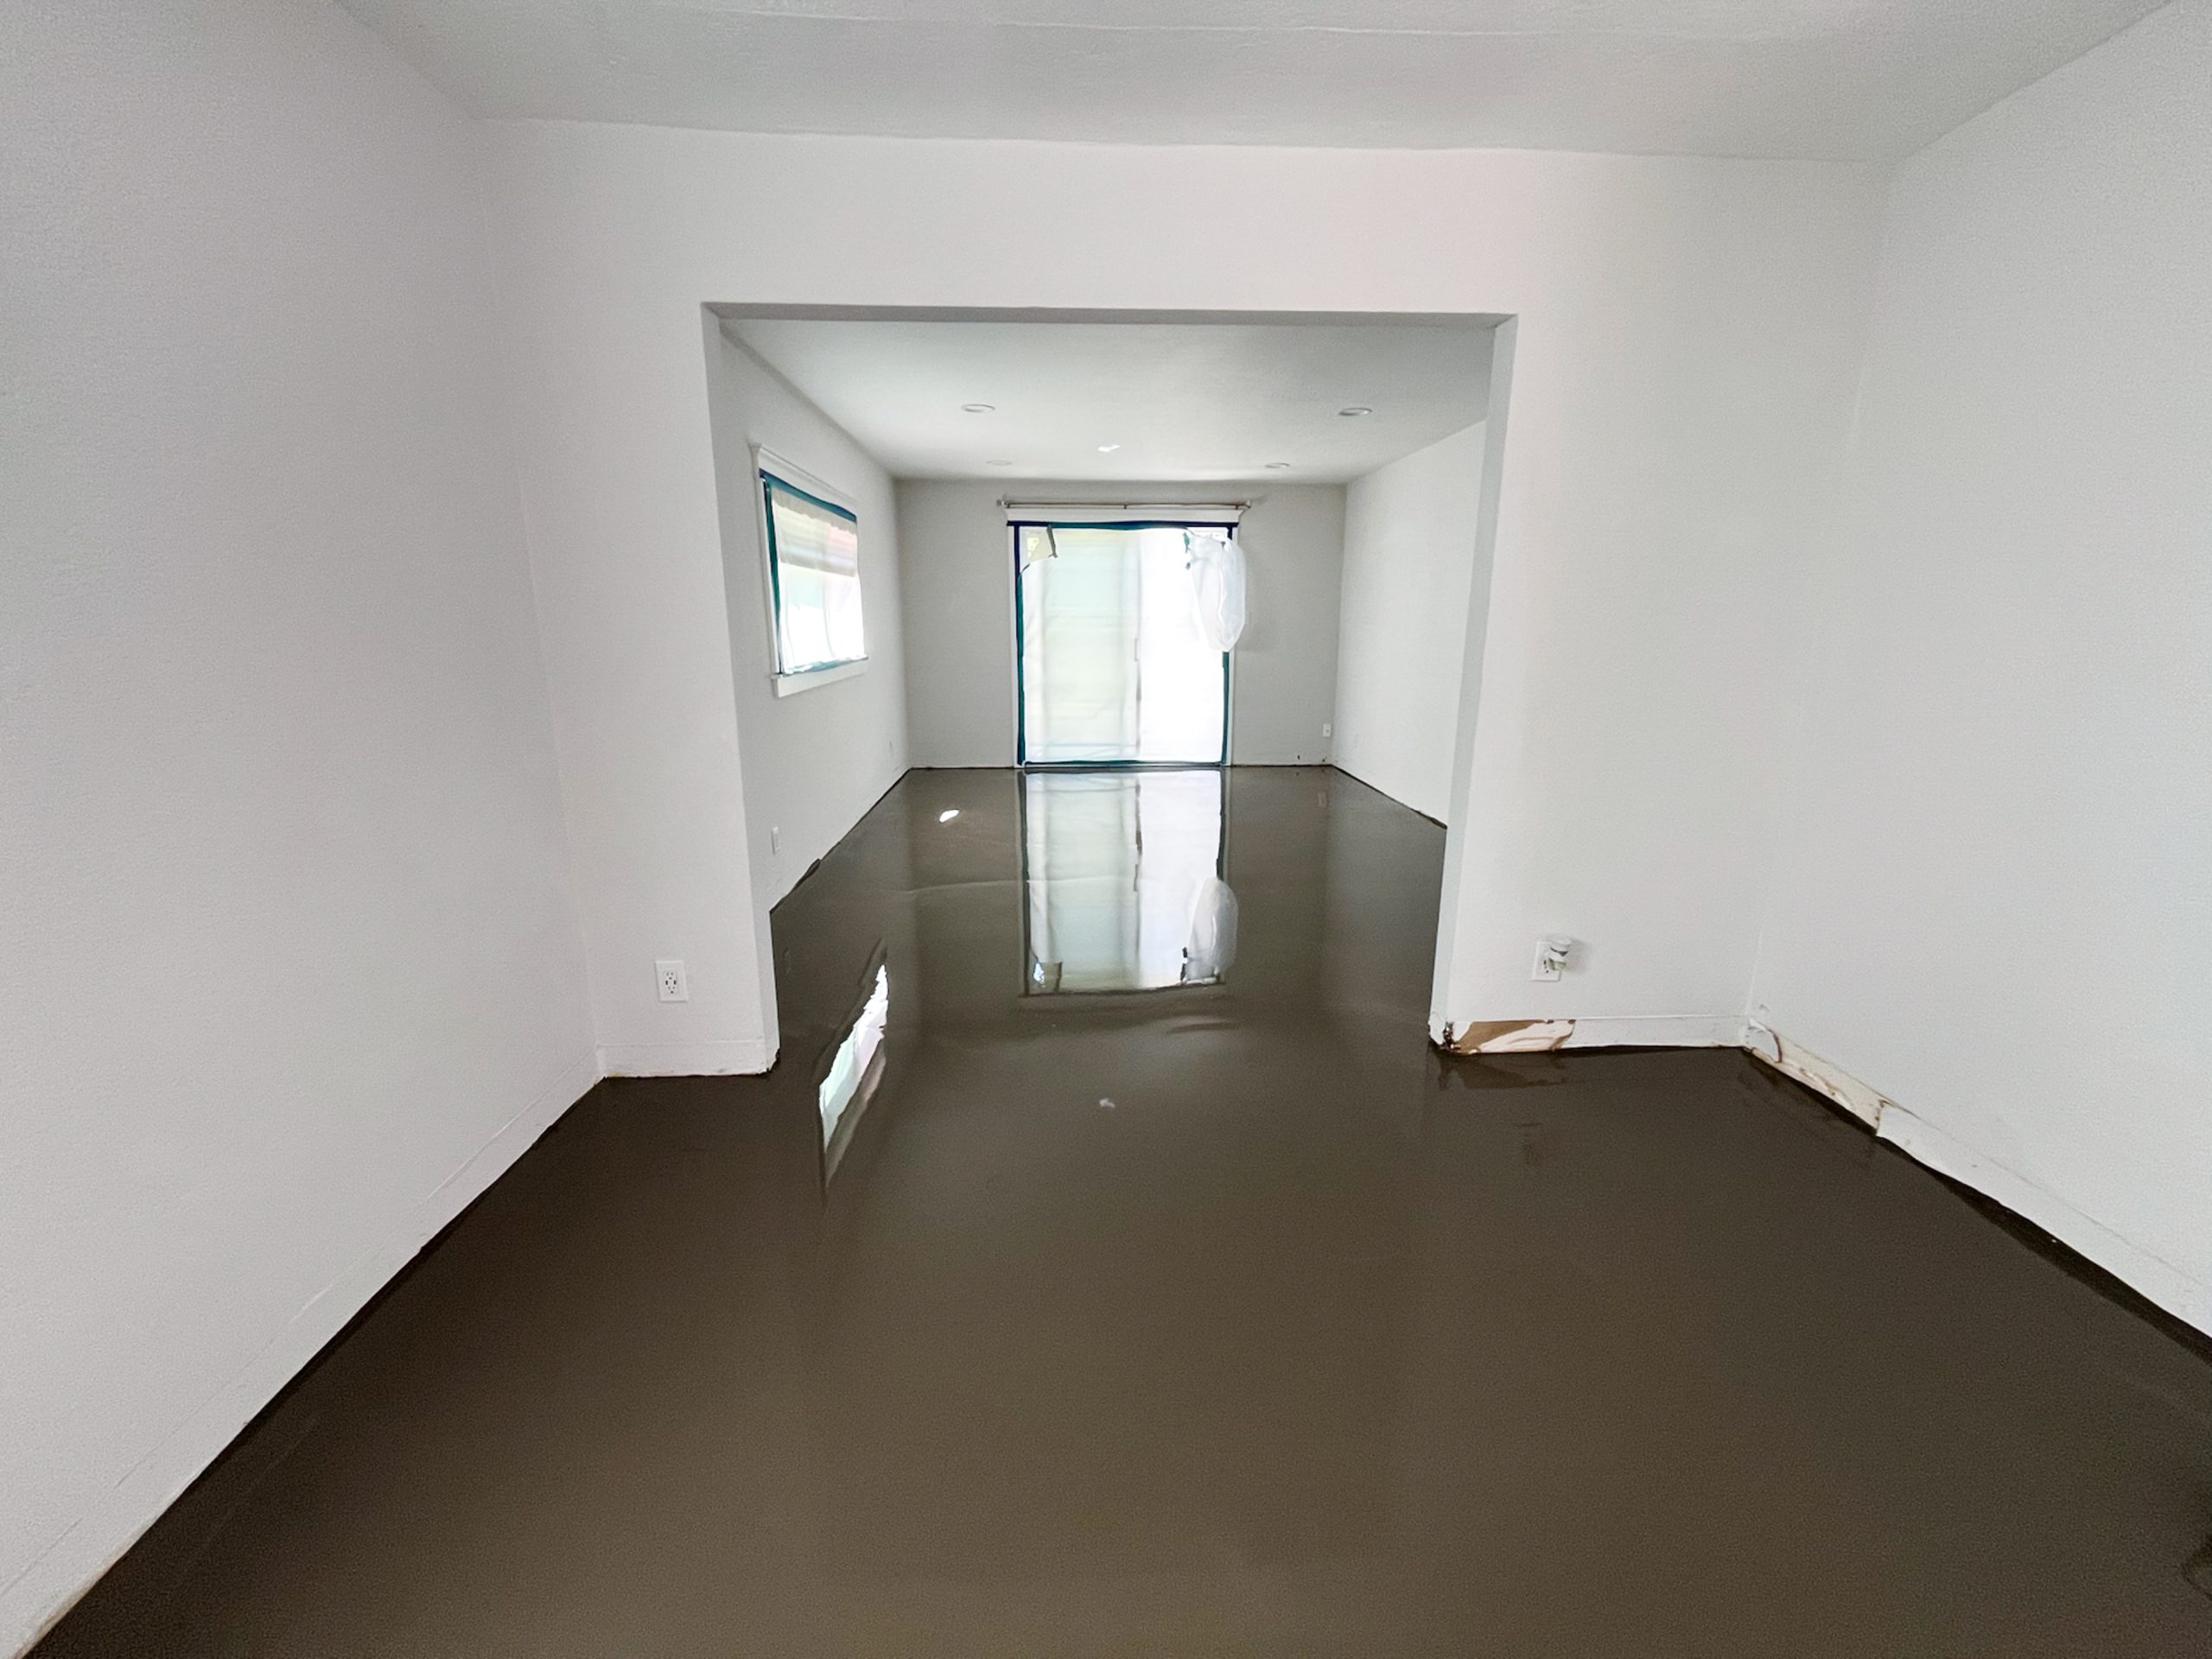
Step 2: Subfloor Prep Is Where the Magic Happens
Once the surface is clear, we inspect the subfloor—and that’s when the real detail work begins.
Here’s what we assess:
-
Flatness: Is the subfloor level enough for hardwood or tile?
-
Moisture: Are there signs of moisture intrusion or mold?
-
Integrity: Are there soft spots, cracks, or movement in the base?
If needed, we apply self-leveling compounds, replace damaged subflooring, or install proper underlayments to ensure a smooth foundation.
Common prep techniques we use include:
-
Floating compound (for minor level adjustments)
-
Moisture barrier installation (especially for LVP or basements)
-
Acoustic underlayment (for multi-story or sound-sensitive spaces)
-
Seam taping and patching (for plywood or OSB)
Step 3: Material-Specific Installation Begins
With the subfloor prepped, we begin the install. Each material type requires a different skillset and approach:
Hardwood & Engineered Wood
-
Acclimation period before install
-
Nail-down, glue-down, or floating method depending on product
-
Tight seam alignment and staggered pattern planning
-
Trim and transition pieces cut on-site
Luxury Vinyl Plank (LVP)
-
Locking systems or glue-down based on room and subfloor
-
Moisture mitigation beneath if needed
-
Clean edge trimming and baseboard reseating
Carpet & Custom Rugs
-
Power stretching for even tension
-
Seam sealer for durability
-
Custom binding for rugs and runners
-
Stair wrapping and precision pattern matching
Tile & Stone
-
Layout dry-fit for balance and flow
-
Thinset, waterproofing, and leveling system use
-
Grout lines matched to design intent
-
Clean, flush finish with detailed edgework
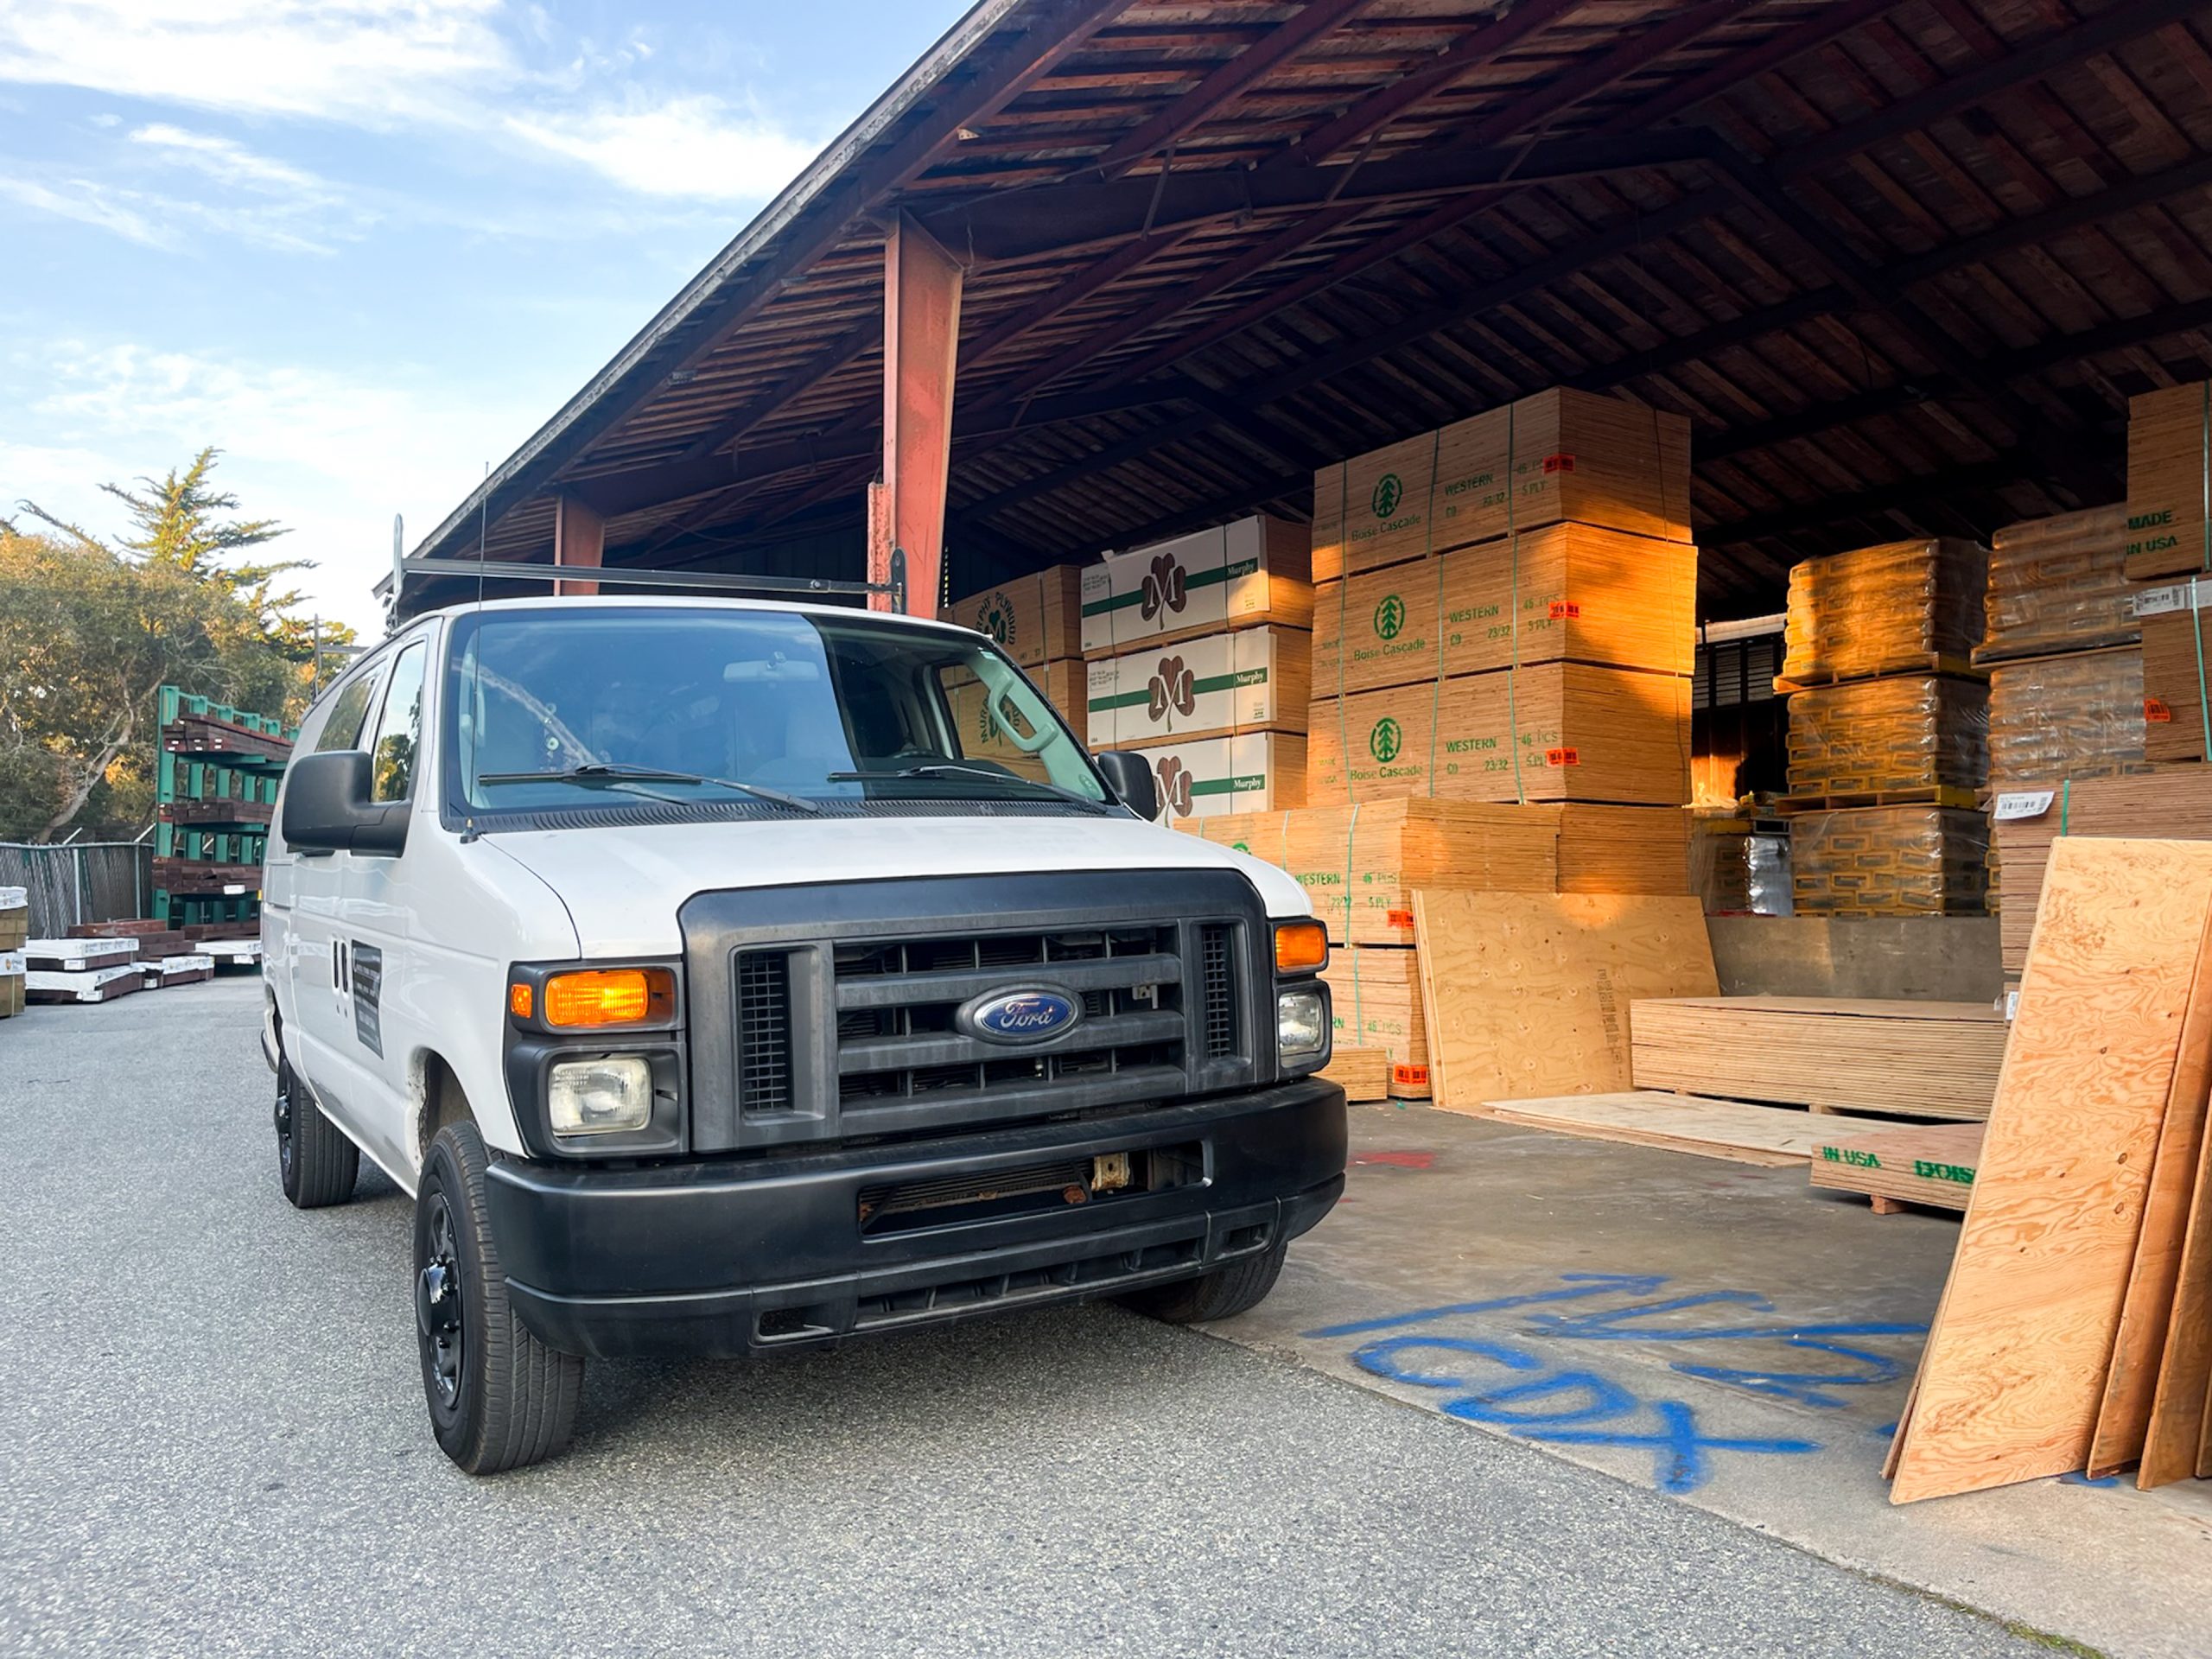
A Few Tools We Rely On
CFC crews are fully equipped with professional-grade tools to get the job done right. You’ll often see:
-
Dewalt saws, lasers, and compressors
-
Moisture meters and floor leveling systems
-
HEPA vacuums and dust containment setups
-
Stair jigs and binding machines (for carpet)
We’re not just showing up with the basics—we bring everything we need to make the job fast, accurate, and clean.
Why This Behind-the-Scenes Work Matters
Many flooring issues happen not because of the product—but because of what’s underneath it. Uneven surfaces, improper moisture mitigation, or rushed installs all lead to:
-
Creaking floors
-
Visible seams or bubbles
-
Premature wear
-
Warranty voids
At Coastal Floor Coverings, we make sure your floors don’t just look beautiful on day one—they’re built to stand up for the long haul.
What It’s Like to Work With Our Team
-
We communicate every phase of the project up front
-
We clean as we go, and respect your space like it’s our own
-
We build around your schedule—whether that means one room at a time or evening access
-
We’re happy to answer questions or provide care tips well after install is complete
Our best jobs are the ones you don’t notice—no humps, no creaks, no callbacks. Just solid, comfortable floors that feel like home.
Ready to See It in Action?
We’ll walk you through the process and explain everything we see, before and during the job. Book a free consultation or visit our Carmel showroom to get started.